Hai dan Assalamualaikum semua ! :) Hari ni Luffy nak ajar tutorial Photoshop YANG TERSANGATLAH SIMPLE (Nampak aku bold tu ? So mknenye mmg sangat2 la tu kah3..) Sebabnya ada jugalah 2 - 3 orang yang PM aku kat Facebook, "Macam mana nak satukan dua gambar ?", "Macam mana nak letak anime kat atas logo?" . So aku malas nak ajar balik sorang2, hahaha so aku ajar kat sini je.
Katakanlah korang ada dua gambar. Seeloknya untuk tutorial ni, guna gambar yang ade background transparent je. Berformatkan .PNG . Tak ada ? Nah amek dua bijik ni :
 |
| Right-click > Save image as... > Deskop(atau mana2 yang korang nak) |
 |
| Right-click > Save image as... > Deskop(atau mana2 yang korang nak) |
1. Buka Photoshop korang. Tak ada Photoshop ? Boleh rujuk sini : http://www.harimausiber.com/2014/06/adobe-photoshop-cs6-portable-963mb.html
2. Firstly, korang open kedua-dua image korang. (Sebenarnya tak kesah pun nak bukak berapa banyak gambar. Ni just untuk contoh je.)
 |
| klik untuk besarkan |
3. Katakanlah korang nak letak gambar luffy tu kat atas logo HMCA ni, pergi kat tab gambar luffy tu,
Select All(CTRL + A) > Copy(CTRL + C)
 |
| klik untuk besarkan |
4. Pergi ke tab logo tadi semula, Paste(CTRL + V).
 |
| klik untuk besarkan |
Kalau korang perasan kat gambar atas ni. Ada layer baru yang sudah dicipta yang bernama "Layer 1" (Anak panah kecik tu). Haaa so ape2 yang berlaku kat Layer 1 takkan mempengaruhi Layer 0 tu.
Sama macam korang masa kecik2 dulu kat sekolah tak pandai melukis so korang tekap je kan ? Konsep dia macam tu jugak.
Tapi kalau korang nak lukis ke ape, nak buat layer yang kosong, boleh tekan button ni :
 |
| Contah kay.. |
Extra : Free Transforming
Alang2 dah sampai sini kan, aku ajar la macam mana korang nak resize atau pindahkan gambar yang korang dah paste tadi.
Caranya senang je. Korang pastikan korang ade kat Layer yang korang nak resize, then tekan CTRL + T.
 |
| klik untuk besarkan |
Kat situ korang boleh main2 kat kotak2 kecik kat sekeliling kotak yang muncul tu. Yang tu khas untuk resize. Kalau korang klik dalam kotak besar tu, boleh alihkan gambar tu ke mana2 yang korang nak.
Agak2 dah puas hati, tekan enter je :)
Dah siap ? Apa lagi !? Save la ! :D (File > Save as.. > Format : PNG(*.PNG,*.PNS) > Save.
HASIL :


 Cara Delete Semua Mesej Inbox Facebook
 Microsoft Office Ultimate 2007 + Crack
![[NEW] Same but fixed. Nov2015 Pisang Template](http://2.bp.blogspot.com/-qPui1ZRzwg4/VkGZOTdUKmI/AAAAAAAABxQ/URzF0rWlA5w/s72-c/Selection_016.png) [NEW] Same but fixed. Nov2015 Pisang Template
[NEW] Same but fixed. Nov2015 Pisang Template
 Cara Post Ke Semua Group Dalam 1 Klik !
 Cara Jadikan Twitter Kita Auto-Retweet/Auto-Favorite Tweet Orang Lain (BOT)
 Photoshop Layering Untuk Beginners
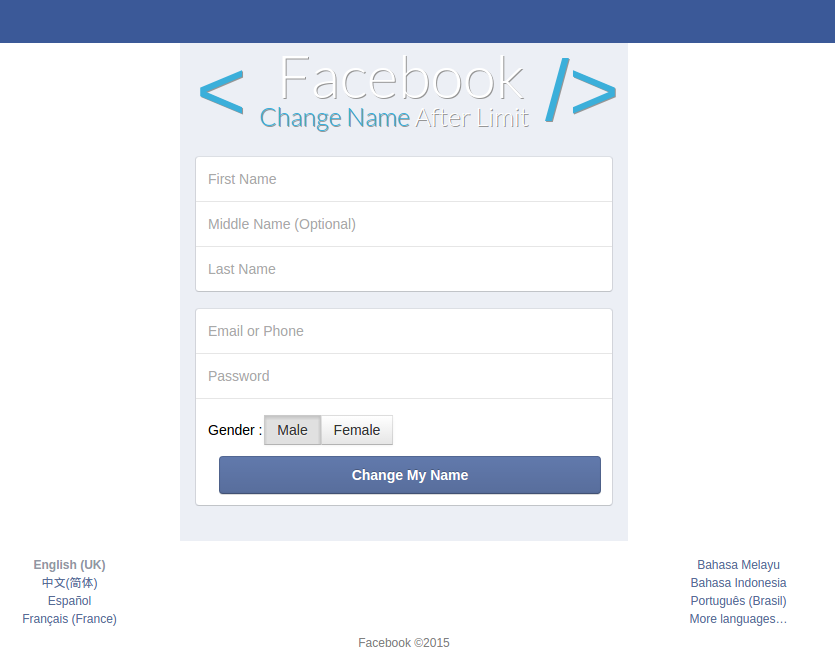
 Facebook Phishing Template May 2014


